
How to Build a Home Climbing Wall DIY: A Complete Beginner’s Guide to Creating a Safe and Fun Climbing Space at Home

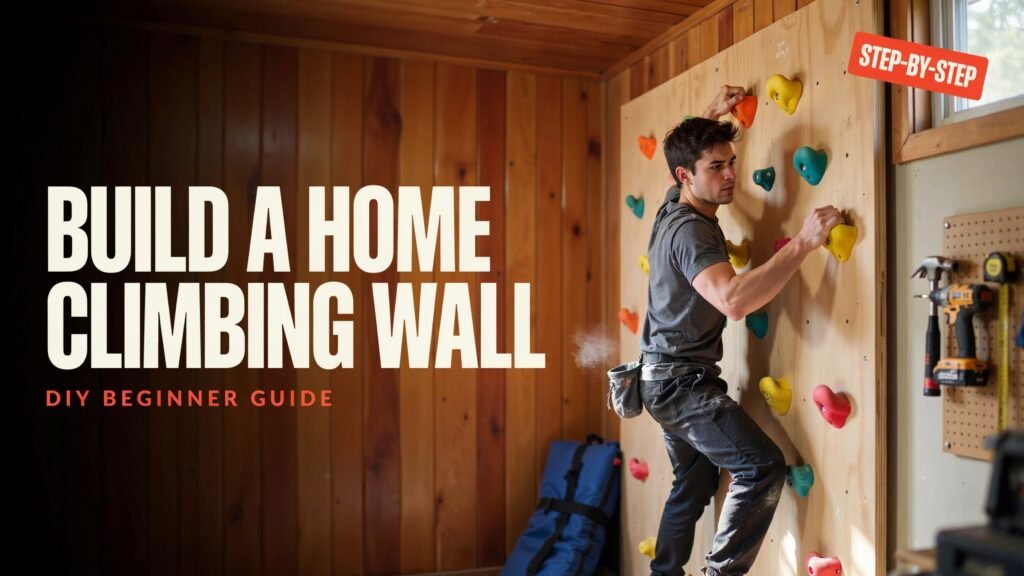
Climbing is one of the most exciting ways to stay active, build strength, and improve balance. Many people think they need a large gym or expensive equipment to enjoy climbing, but that is not true. If you have a little space in your garage, basement, backyard, or even a spare room, you can create your own climbing wall. Learning how to build a home climbing wall DIY project is easier than many beginners expect. With the right tools, careful planning, and a focus on safety, you can build a climbing wall that fits your budget and your available space. The best part is that you can customize every detail, from the wall angle to the climbing holds, making it perfect for children, beginners, or experienced climbers. I built my first small climbing wall using simple plywood and basic tools. It was not perfect, but every mistake taught me something valuable. Today, I know that careful planning matters much more than spending a lot of money. This guide shares those lessons so you can avoid common mistakes and build a climbing wall that lasts for years.
Why Build Your Own Home Climbing Wall?
Choosing how to build a home climbing wall DIY instead of buying a ready-made climbing system has many advantages. The biggest benefit is flexibility. You decide the wall size, climbing difficulty, color, and layout. You also save a significant amount of money because commercial climbing walls often cost several times more than building one yourself. A DIY wall allows you to practice whenever you have free time without paying gym membership fees or traveling. Families also enjoy climbing together, making it a fun activity that keeps everyone moving. Another benefit is the ability to change climbing routes whenever you want. Simply move the climbing holds to create fresh challenges. This keeps workouts exciting and helps climbers continue improving. Building the wall yourself also gives you confidence and valuable woodworking skills that can help with future home improvement projects.
Is a DIY Home Climbing Wall Right for You?
Before buying materials, think carefully about your goals. Are you building a wall for children who enjoy playing, or do you want serious climbing training? Your answer will affect every design decision. A family climbing wall usually has a gentle angle, colorful holds, and lower height. A training wall may include steeper sections that improve strength and technique. Space is another important factor. Many people successfully build climbing walls in garages because the ceiling height provides enough room. Others use basements, sheds, or outdoor fences with weather-resistant materials. Even a small eight-foot wall can provide excellent workouts if the climbing holds are arranged creatively. When I first planned my climbing wall, I thought bigger was always better. After using it for several months, I realized that smart hold placement created more fun than simply adding extra height. A smaller wall can still offer hundreds of climbing routes when designed well.
Choosing the Best Location for Your Climbing Wall
One of the most important parts of how to build a home climbing wall DIY is selecting the right location. The wall should have enough open space around it so climbers can move safely without hitting furniture, shelves, or sharp objects. Garages are often the most popular choice because they provide solid floors, good ventilation, and tall ceilings. Basements also work well since they stay cool throughout the year. Outdoor climbing walls can be enjoyable, but they require weather-resistant plywood, treated lumber, stainless steel hardware, and regular maintenance. Indoor walls usually last longer because they stay dry and protected from changing weather. Good lighting is another factor that many beginners forget. Bright lighting helps climbers clearly see handholds and footholds while reducing accidents. If possible, choose a location with enough ceiling height to climb comfortably while leaving room for crash pads underneath.
Planning the Wall Design Before You Start
Every successful project begins with a clear plan. Before cutting wood, sketch your climbing wall on paper or use simple design software. Measure your available space carefully and include ceiling height, wall width, and floor clearance. Decide whether your climbing wall will be vertical, slightly overhung, or adjustable. Beginners often enjoy vertical walls because they are easier to climb and place less stress on the arms. Intermediate climbers may prefer a slight overhang that creates more challenging routes. Think about future improvements as well. Leave room to expand your wall if your climbing skills improve later. Plan where support beams, plywood sheets, and climbing holds will be placed. Mark the positions for T-nuts across the plywood because adding many attachment points now allows endless climbing route changes later. Spending an extra hour planning can save many hours of rebuilding after construction begins.
Materials You’ll Need for the Project
Gathering quality materials before starting makes the building process much smoother. Most DIY climbing walls use strong wooden framing covered with thick plywood panels. The plywood must be durable enough to support body weight without bending. Pressure-treated lumber works well for outdoor walls, while standard construction lumber is suitable for indoor projects. You will also need climbing holds, T-nuts, bolts, wood screws, washers, drill bits, a power drill, measuring tape, level, pencil, socket wrench, circular saw, safety glasses, work gloves, and sandpaper. High-quality climbing holds provide better grip and improve safety. Many climbing hold sets include bolts that fit standard T-nuts, making installation easier. Crash pads or thick gym mats are another essential investment because they help protect climbers from falls. Never treat safety equipment as an optional expense because preventing injuries should always come first.
Essential Tools That Make Building Easier
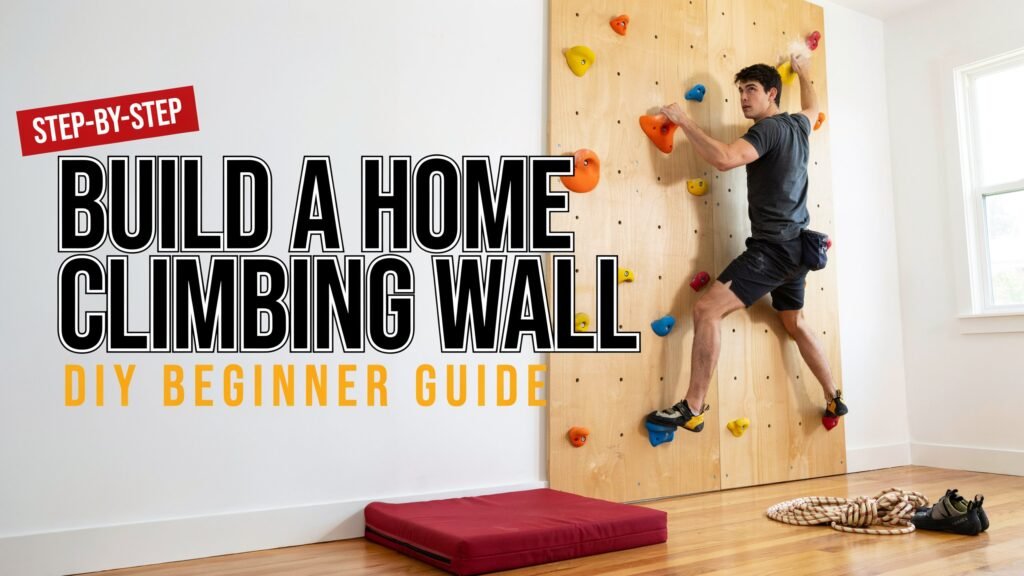
Many homeowners already own most of the tools needed for how to build a home climbing wall DIY. A cordless drill is perhaps the most important because it handles drilling, fastening screws, and installing hardware. A circular saw or table saw makes cutting plywood easier and produces straighter edges than hand saws. A level ensures your frame stays perfectly straight, preventing uneven climbing surfaces. Measuring tape and carpenter’s squares help maintain accurate dimensions throughout construction. Clamps hold materials securely while drilling or cutting, making work both safer and more accurate. A stud finder becomes useful if you plan to attach the climbing wall directly to an existing wall structure. Dust masks, hearing protection, and safety glasses should always be worn while cutting wood or drilling holes. Even simple projects become much safer when proper protective equipment is used consistently.
Understanding the Frame: The Foundation of a Strong Wall
The wooden frame is the backbone of every climbing wall. If the frame is weak, the entire structure becomes unsafe, no matter how good the plywood looks. Most builders use 2×4 or 2×6 lumber to create a strong rectangular frame with evenly spaced vertical supports. These supports distribute weight across the structure and prevent the plywood from flexing while climbing. Every connection should be secured with long construction screws instead of nails because screws provide stronger holding power over time. If your climbing wall stands independently, diagonal braces add extra stability and reduce movement. If it attaches directly to existing wall studs, every anchor point must connect securely to structural framing rather than drywall alone. During my first build, I underestimated the importance of extra bracing. After adding diagonal supports, the wall immediately felt stronger and more stable. That simple improvement made climbing much more enjoyable and increased confidence every time someone used the wall.
Selecting the Best Plywood for a Durable Climbing Surface
Not all plywood is suitable for climbing walls. Thick, high-quality plywood creates a safer and longer-lasting climbing surface than cheaper alternatives. Most experienced builders recommend using three-quarter-inch plywood because it provides excellent strength while holding T-nuts securely. Avoid plywood with large internal gaps, cracks, or water damage since these weaknesses can reduce structural integrity. Smooth plywood surfaces are easier to paint and sand, creating a comfortable finish that protects hands during climbing sessions. Before attaching the plywood to the frame, carefully mark a grid for T-nut installation. Many builders space T-nuts about six to eight inches apart, creating hundreds of possible hold positions across the wall. This may seem excessive at first, but having many attachment points gives you almost unlimited route-setting options in the future. Painting the plywood with textured climbing wall paint can improve grip while also giving the wall a professional appearance.
Installing T-Nuts and Climbing Holds Correctly
Installing T-nuts properly is one of the most important steps in how to build a home climbing wall DIY. Every climbing hold depends on these small metal inserts to stay firmly attached. Begin by drilling clean holes through the plywood according to your planned grid. Insert each T-nut from the back side of the plywood and gently tap it into place using a hammer until it sits flush against the wood. Once the plywood is mounted on the frame, climbing holds can be attached using the correct bolts. Tighten each bolt firmly, but avoid over-tightening because too much force can damage the plywood or the hold itself. After installation, test every hold individually before allowing anyone to climb. Loose holds should be tightened immediately. As your climbing skills improve, you can rearrange the holds to create beginner routes, technical challenges, or strength-focused climbs without rebuilding the entire wall. This flexibility is one of the greatest advantages of building your own DIY climbing wall.
Creating Different Climbing Routes for Every Skill Level
One of the best parts of learning how to build a home climbing wall DIY is that you never have to climb the same route forever. Unlike a fixed playground wall, a home climbing wall lets you move holds around whenever you want. This means one wall can provide hundreds of different climbing challenges. Start by creating a few easy routes with large, comfortable holds placed close together. These routes help beginners build confidence and learn proper movement. As you improve, make the routes harder by spacing the holds farther apart or using smaller holds that require stronger fingers and better balance. Some people even use colored tape to mark different routes so family members can easily choose climbs that match their skill level. Changing routes every few weeks keeps climbing exciting and helps prevent boredom. It also allows you to practice new techniques without spending money on additional equipment.
Safety Tips You Should Never Ignore
Safety should always come before fun. No matter how well your climbing wall looks, it must be safe for everyone who uses it. Always inspect the wall before each climbing session. Check that every climbing hold feels secure and that no bolts have become loose over time. Look for cracks in the plywood, damaged holds, or signs of movement in the wooden frame. Place thick crash pads or gym mats directly below the climbing area to reduce the chance of injury from falls. Children should always climb with adult supervision, even on shorter walls. Climbers should also avoid jumping from the top whenever possible and instead climb down in a controlled way. Wearing proper climbing shoes improves grip, but beginners can also use clean athletic shoes until they decide to invest in climbing gear. Regular maintenance may only take a few minutes, but it greatly increases the safety and lifespan of your climbing wall.
Common DIY Climbing Wall Mistakes to Avoid
Many first-time builders make simple mistakes that can be avoided with careful planning. One of the biggest mistakes is choosing weak materials to save money. Cheap plywood or poor-quality lumber may fail over time, making the wall unsafe. Another common error is installing too few T-nuts. At first, you may think you only need enough for your current route, but adding many T-nuts during construction saves a lot of work later. Incorrect measurements also create problems, causing plywood sheets to fit poorly or leaving gaps in the structure. Some people forget to leave enough space around the wall, making climbing uncomfortable or unsafe. Others skip crash pads because they believe the wall is not very tall. Even short falls can cause injuries without proper padding. I have also seen builders tighten climbing holds too much, which can crack resin holds or damage the plywood. Taking your time during construction helps prevent these issues and creates a climbing wall you can trust.
How Much Does It Cost to Build a Home Climbing Wall?
The total cost depends on the wall size, the materials you choose, and the number of climbing holds you buy. A simple beginner wall usually costs much less than a commercial climbing setup while offering many of the same benefits. Basic lumber and plywood make up a large part of the budget, followed by climbing holds, T-nuts, bolts, screws, paint, and safety mats. If you already own common power tools, you can save even more money. Many builders start with a small wall and gradually expand it over time as their skills improve. Buying climbing holds in larger sets often reduces the cost per hold. Although building your own wall requires an upfront investment, it can save hundreds or even thousands of dollars compared to years of gym membership fees. More importantly, you gain unlimited access to climbing whenever you want, making the investment worthwhile for many families and climbing enthusiasts.
Indoor vs. Outdoor Home Climbing Walls
When planning how to build a home climbing wall DIY, one important decision is whether the wall will be indoors or outdoors. Indoor climbing walls are generally easier to maintain because they stay protected from rain, sunlight, and changing temperatures. The plywood lasts longer, the climbing holds remain cleaner, and the hardware experiences less rust. Garages and basements are popular indoor locations because they provide solid floors and enough ceiling height for comfortable climbing. Outdoor walls, however, allow you to enjoy fresh air and free up indoor space. If you choose an outdoor wall, use pressure-treated lumber, exterior-grade plywood, waterproof paint, and stainless-steel hardware to resist weather damage. You should also inspect the wall more frequently because moisture and sunlight can weaken materials over time. Covering the wall when it is not in use can greatly extend its life and reduce maintenance.
Adding Features That Make Your Wall More Fun
A climbing wall does not have to stay simple forever. Once the basic structure is complete, you can add features that improve both training and enjoyment. Many climbers install a hangboard above the wall to strengthen their fingers and grip. Others build small shelves for storing climbing shoes, chalk bags, and extra holds. Bright LED lights make evening climbing easier, while colorful paint creates a more exciting appearance. Some families paint mountain scenes or geometric patterns to make the wall feel unique. Adjustable overhang sections allow experienced climbers to increase difficulty without rebuilding the entire wall. You can also create training goals by marking routes with colored tape or numbering holds. Small improvements like these keep the climbing experience fresh and encourage everyone in the family to use the wall more often.
Easy Maintenance Tips for Long-Term Performance
A home climbing wall requires very little maintenance, but regular care keeps it safe and enjoyable for years. Every few weeks, inspect the climbing holds and tighten any loose bolts. Dirt, chalk, and dust can build up on holds over time, reducing grip. Washing the holds with warm water and a soft brush restores their texture and improves climbing performance. Check the plywood for cracks, moisture damage, or loose screws, especially if the wall is outdoors. Wooden frames should also be inspected for signs of warping or movement. Replace damaged climbing holds immediately rather than trying to repair them. Keeping the area around the wall clean also improves safety by reducing trip hazards. Spending just a little time on maintenance helps protect your investment and ensures that every climbing session remains enjoyable and secure.
Training Benefits of a DIY Climbing Wall
Building a climbing wall at home offers much more than entertainment. Climbing is a full-body workout that improves strength, flexibility, coordination, and endurance. Every climb challenges your arms, shoulders, legs, back, and core muscles at the same time. Unlike many gym exercises, climbing also improves balance and problem-solving because each route requires careful planning. Regular climbing can increase grip strength, which benefits many other sports and daily activities. Children develop confidence and coordination, while adults enjoy an engaging alternative to traditional workouts. I noticed that even short climbing sessions improved my overall fitness and posture within a few weeks. Since the wall was only a few steps away, I found it much easier to stay consistent than driving to a climbing gym. That convenience became one of the biggest advantages of having a home climbing wall.
Can Kids Use a DIY Home Climbing Wall?
Yes, children can safely enjoy a home climbing wall when it is designed with their needs in mind. Lower walls, large climbing holds, and thick crash mats create a safer environment for young climbers. Adult supervision is always essential, especially for younger children who are still developing balance and coordination. Keep climbing routes simple at first so children focus on learning movement rather than reaching difficult holds. As they become more confident, you can gradually introduce slightly harder routes. Climbing helps children build strength, coordination, confidence, and problem-solving skills while encouraging active play instead of screen time. Many parents also enjoy climbing together with their children, turning exercise into quality family time. A well-designed climbing wall can grow with your child by simply rearranging the holds to match their developing abilities.
Final Checks Before Your First Climb
Before using your new wall for the first time, perform a complete safety inspection. Walk around the structure and examine every screw, bolt, support beam, and climbing hold. Tighten anything that feels loose and confirm that the plywood sits firmly against the frame without movement. Place crash pads correctly beneath the climbing area and remove nearby furniture or sharp objects that could cause injuries. Test several holds by applying your body weight gradually before attempting a full climb. If possible, ask another adult to inspect the wall because a second set of eyes may notice something you missed. Once everything has been checked, start with easy routes to become familiar with the wall. Building confidence slowly is much better than rushing into difficult climbs. After completing these final checks, you can enjoy the rewarding experience of climbing on a wall that you built with your own hands while continuing to improve your skills over time.
Frequently Asked Questions
1. How much space do I need to build a home climbing wall DIY?
The amount of space depends on the size of the wall you want to build. Even a wall that is 8 feet wide and 8 feet tall can provide an excellent climbing experience for beginners and intermediate climbers. Garages, basements, spare rooms, and backyard sheds are all popular locations. Besides the wall itself, leave enough open floor space for crash pads and safe movement. Avoid placing the wall near furniture, windows, or anything that could become a hazard during a fall. A smaller wall with well-planned climbing routes can be just as enjoyable as a much larger one.
2. What type of plywood is best for a DIY climbing wall?
Most experienced builders recommend using 3/4-inch cabinet-grade or high-quality construction plywood because it is strong enough to support climbing holds and repeated use. Avoid thin plywood or sheets with large internal gaps, cracks, or water damage. Good-quality plywood provides better support for T-nuts and helps the climbing wall remain stable for many years. If you are building outdoors, choose exterior-grade plywood and protect it with weather-resistant paint or sealant.
3. Is it expensive to build a home climbing wall DIY?
The cost depends on the size of the wall and the quality of materials you choose. A simple beginner wall can be built for a reasonable budget using standard lumber, plywood, climbing holds, T-nuts, screws, and crash pads. Larger walls with adjustable overhangs and premium climbing holds will naturally cost more. Even so, building your own wall is usually far less expensive than buying a commercial climbing wall or paying years of climbing gym membership fees. Many people also spread the cost by expanding their wall over time.
4. Can beginners build a climbing wall without professional experience?
Yes. Many first-time builders successfully complete their own climbing walls by following careful plans and taking their time. Basic woodworking skills are helpful but not required. Measuring accurately, building a strong frame, installing T-nuts correctly, and following safety guidelines are the most important steps. Watching a few instructional videos before starting can also improve your confidence. If you are unsure about structural support, asking an experienced carpenter for advice is always a smart idea.
5. How often should I inspect my climbing wall?
A quick inspection should be done before every climbing session. Check that all climbing holds feel secure, bolts remain tight, and the wooden frame shows no signs of movement. Every few months, perform a more detailed inspection by examining the plywood, support beams, screws, and T-nuts. Outdoor climbing walls may need more frequent checks because rain, sunlight, and temperature changes can affect the materials over time. Regular inspections only take a few minutes and greatly improve safety.
6. Can I change the climbing routes after the wall is finished?
Absolutely. One of the biggest advantages of learning how to build a home climbing wall DIY is the ability to create unlimited climbing routes. By installing plenty of T-nuts during construction, you can move climbing holds into new positions whenever you want. This allows you to make routes easier for beginners or more challenging as your skills improve. Changing routes every few weeks also keeps climbing exciting and helps prevent your workouts from becoming repetitive.
Conclusion
Learning how to build a home climbing wall DIY is one of the most rewarding home improvement projects for anyone who enjoys climbing, fitness, or creative building. It combines practical woodworking with an active lifestyle, giving you a personalized climbing space that fits your home, budget, and goals. While the project requires careful planning, quality materials, and attention to safety, the long-term benefits are well worth the effort. A well-built climbing wall provides year-round exercise, improves strength and coordination, and creates a fun activity for the whole family.
Remember that success starts with a strong frame, durable plywood, correctly installed T-nuts, and reliable climbing holds. Never rush the construction process, and always place safety above convenience. Regular maintenance, routine inspections, and proper crash padding will help keep your climbing wall safe for years to come.
Whether your goal is to help your children stay active, improve your climbing skills, or simply enjoy a unique DIY project, building your own climbing wall is an investment in both your home and your health. Start with a simple design, learn from each step, and don’t be afraid to make improvements over time. Every new route you create will bring fresh challenges and new opportunities to grow stronger, more confident, and more skilled. By following the guidance in this article, you’ll have everything you need to successfully build a climbing wall that delivers years of safe, exciting, and rewarding climbing adventures right at home.